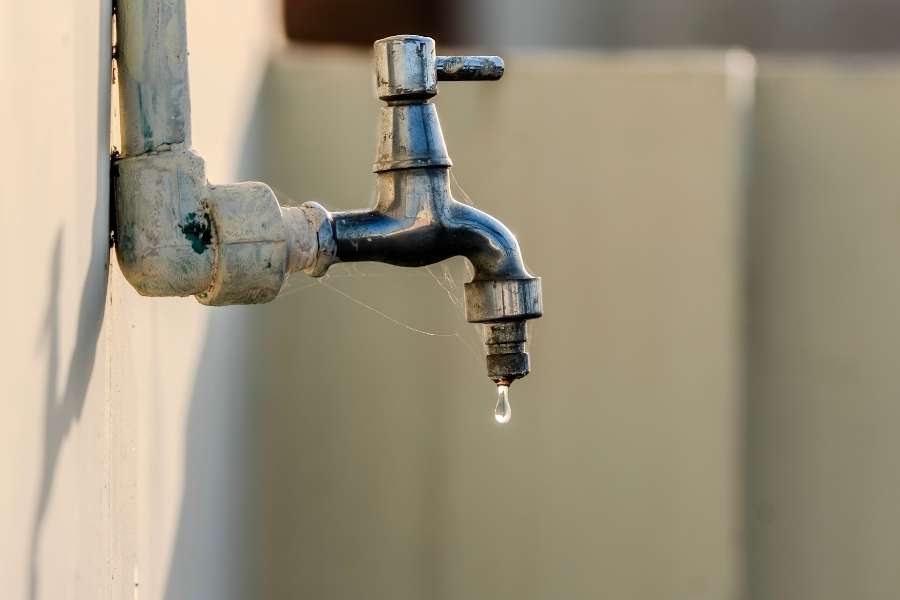
That slow drip in your sink can ruin a quiet night. A leaking faucet also wastes fresh water and adds money to your utility bill. You do not need to pay high trade rates for a quick repair. Most sink drips come down to a few worn internal parts. Anyone can fix these simple fixtures with basic household tools. Let us stop that drip together and restore peace to your kitchen or bathroom. Ignoring these small leaks always costs more over time. Water works its way into small gaps and ruins expensive surfaces.
The True Cost of Household Water Loss
Water lines remain under steady pressure inside your home walls. When an internal seal fails, fluid escapes through the spout. That steady loss adds up to thousands of gallons each year. It damages sink basins and leaves tough mineral stains behind. Small drips also foster hidden mold beneath your kitchen counter. Moisture seeps down into wooden framing and rots the subfloor. Fixing a fixture early prevents massive structural damage in your living space. Reviewing a practical guide to fix a leaking faucet diy repair helps you understand the full scale of water waste before damage spreads. Wasting clean water strains local community treatment plants. Clean municipal water requires energy and chemicals to reach your home safely. A tiny leak wastes those shared public resources every single day. Fixing household drips protects natural resources and your bank balance. Next, we will check the parts that usually cause these problems.
Why Your Home Water Fixtures Start Dripping
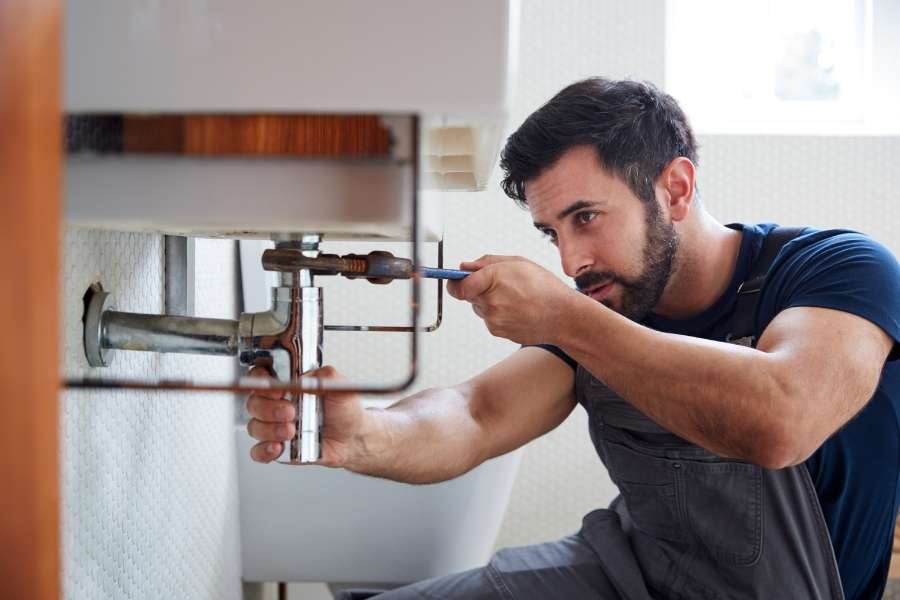
Every sink faucet relies on small parts to hold back water pressure. When you turn the handle, these pieces rub against metal surfaces. That friction breaks down soft materials after months of daily family use. Modern homes often blend traditional plumbing maintenance with smart home tech projects for domestic upgrades to track utility performance and automate system efficiency. Knowing which part failed saves time at the local hardware store. Most homes use one of two main valve styles today. Understanding these designs makes every home repair straightforward and quick.
Traditional Stems and Compression Washers
Compression taps use a soft rubber washer screwed into the stem base. Turning the handle drives the rubber down against a smooth metal seat. That direct pressure blocks incoming water from reaching the open spout. Over time, sediment cuts tiny grooves into the soft rubber edge. Water slips past those rough edges and creates a steady drip. Hot water lines break down rubber parts faster than cold lines. Mineral scale also gathers along the metal stem threads over time. That grit makes the handle stiff and hard to turn completely. Replacing that small rubber piece restores a tight seal right away.
Modern Cartridge Units and Dynamic Barriers
Modern fixtures use plastic or brass cylinders rather than basic threaded stems. A central cartridge controls water flow using internal slots and sliding discs. Luxury taps rely on ceramic discs that glide past each other smoothly. Even durable ceramic discs break if hard sand gets caught inside. When ceramic cracks, you must install a fresh replacement cartridge unit. You cannot patch cracked ceramic discs with simple rubber repair parts. A flexible gasket keeps water inside the body during daily operation. Heat and mineral buildup cause rubber rings to turn stiff and snap. Once that barrier fails, water pools on top of your counter. Routine use can also loosen factory tightening on internal valve parts. When parts loosen, water slips past the main brass housing threads. Keeping parts properly tight stops drops from escaping around the fixture base. Knowing these parts helps you pick the right tools for the job. Preparation makes the whole repair job go much faster.
Tools You Need Before Touching the Pipes
Having your tools ready saves trips across the house during repair work. You only need simple hand tools for almost any fixture job. Most homeowners already have these items stored away in their garage. Line up your gear on a dry towel near the sink basin. Quality tools protect bright chrome finishes from scratches during tough jobs. Make sure your workspace stays clean and well organized throughout the repair process.
- An adjustable wrench with smooth jaws to turn nuts safely
- A flathead screwdriver and a standard Phillips screwdriver for handle screws
- A small pack of replacement rubber seals and matching internal rings
- Plumber silicone grease for safe rubber part lubrication during assembly
- A small utility knife to remove stuck old rubber parts easily
- A small basin or bucket to catch trapped drain line water cleanly
- Soft rags to clean parts and cover your open sink drain completely
Once your tools are ready, make your workspace safe from spills. Shutting off the water supply remains your most important safety step. Taking time to secure the plumbing lines prevents accidental indoor flooding.
Shutting Off Water Supplies Under the Sink
Look beneath the sink cabinet to find your water stop valves. Turn both oval handles clockwise until they stop turning completely. If they feel stiff, wiggle them gently to avoid snapping old brass. Open the tap handles all the way to empty out trapped water. This step drops line pressure to zero so water will not spray. It also confirms that your stop valves shut off the flow completely. Drop a small rag over the open sink drain hole now. That cloth keeps small brass screws from falling into the trap pipe. Losing a screw down the pipe turns a quick job into trouble.
How to Take Apart Your Old Sink Fixture
Taking apart a tap takes patience and a steady hand on tools. Decorative trim hides the main mechanical screws from plain view. Work slowly so you do not mark up the bright chrome parts. Lay out every piece on your towel in the order you remove it. That layout makes putting everything back together simple and stress-free later. Moving methodically protects the delicate exterior finishes from damage.
Removing the Trim Caps and Handle Screws
Pry the small plastic index button off the handle top with care. A tiny flat blade pops these decorative covers off without marks. Look down into the open hole to find the primary handle screw. Turn the handle screw counterclockwise using the right size driver head. Keep a firm grip on the handle body with your free hand. Lift the handle straight off once that screw comes out freely. Mineral scale can glue the handle to the internal metal stem. If it sticks, wrap a vinegar rag around the joint for a while. The acid breaks down hard scale so parts slip off with ease. Once the handle comes off, the inner brass parts stand exposed. Next, you will take off the main brass retaining ring.
Removing the Brass Retaining Collar
You will see a large brass nut holding the internal valve inside. This part holds the stem firmly down against the main metal casting. Grip the flat sides of the ring using an adjustable wrench. Turn the metal ring counterclockwise using slow and steady hand pressure. Do not yank the tool, or you might twist the copper pipes below. Once it breaks free, finish unscrewing the ring with your fingers. Set the metal ring aside with your screws on the clean towel. Now you can see the top of the valve cartridge clearly. Check the exposed threads for white mineral crust or green copper corrosion.
Repair a Kitchen Faucet Yourself
Kitchen sinks work hard every single day of the year. That heavy use wears out internal seals faster than bathroom taps. It pays to repair a kitchen faucet yourself when trouble starts. Most kitchen taps swivel back and forth across double sink basins. That regular movement grinds down the dynamic O-rings along the spout base. Water then pools across the counter whenever you run the tap. Addressing worn seals quickly protects your wooden kitchen counters from moisture damage.
Pull the old cartridge straight up out of the brass housing cavity. Use small pliers if mineral deposits make the plastic shell stick inside. Pull straight up so you do not snap the small alignment tabs. Take your old part down to the local hardware supply counter. Many replacement cartridges look identical but have small size differences in base pins. Buying the exact brand match guarantees a tight fit that stops drips. Wipe clean the inside of the brass casting with a soft rag. Put a thin coat of silicone grease across every new rubber surface. Grease helps parts slide home and keeps fresh rubber from tearing apart. Slide your new cartridge down into the slots inside the tap body. Press down until the unit rests flat against the bottom brass ports. Thread the collar back on by hand to protect fine metal threads. Snug the collar down with your hand tool until it sits firm. Proper pressure locks parts together without cracking delicate inner plastic discs. Now your kitchen tap has fresh seals ready for years of use.
Simple Steps to Change a Mixer Tap Washer
Dual-lever taps still sit on thousands of kitchen and bathroom counters. These fixtures use basic brass stems that hold flat rubber discs inside. It is easy to change a mixer tap washer in thirty minutes. You only need an inexpensive parts kit from your local hardware shop. Check the brass surfaces inside the tap body before putting parts back. Proper seat preparation guarantees your brand new rubber parts last for years.
Unscrew the small brass fastener holding the rubber disc in place. Pop off the hardened rubber disc using the point of your knife. Drop a new matching disc onto the stem and replace the screw. Look deep into the open tap body with your utility flashlight. You will see a smooth circular brass lip called the valve seat. Water cuts rough tracks across this lip after years of continuous flow. If the brass lip feels rough, your fresh rubber disc will fail. Smooth down that rough edge with a valve seat dressing tool. Turn the tool clockwise twice to smooth the brass surface flat again. People often look for a quick trick to stop a water leak at night. Tying a clean string to the spout silences that dripping sound instantly. Drops slide silently down the string straight into your drain pipe. That trick helps you sleep, but it does not stop water waste. PTFE tape on old stem threads also buys you a little time. Real repairs require putting fresh parts inside the worn valve assembly. Fresh rubber parts restore factory performance to your worn tap assembly. Now you can put the pieces back together and run tests.
Putting Parts Back Together and Testing the Lines
Putting your tap back together follows your disassembly steps in reverse order. Make sure every part fits cleanly without needing extra brute force. Wipe off old fingerprints and soap scum from all outer metal trim. Take your time during assembly to avoid damaging new replacement seals. A careful check now ensures your repair lasts a very long time. Reassembling the fixture with care preserves your plumbing for the coming seasons.
Take off the small aerator screen from the tip of the spout. Cleaning and repair work often breaks loose small bits of mineral scale. That loose grit will clog the fine wire mesh if left inside. Open the fixture handle halfway before you turn the water back on. This step lets air escape cleanly without shaking the copper pipe lines. Crawl under your counter and open both isolation stops very slowly. Let the water run through the open spout for one full minute. That run clears away loose dirt, pipe scale, and excess silicone grease. Shut the tap handle and watch the spout tip with your flashlight. The flow should stop completely without a single drip escaping the spout. Take a dry tissue and wipe around the handle base and nuts. If the paper stays dry, your new sealing works as intended. Screw your aerator back onto the spout tip using your bare fingers. You just learned how to fix a dripping faucet with basic tools. Your sink runs quietly now, and your water bill will drop.
Frequently Asked Questions
Why does my faucet still drip after replacing the washer?
The metal valve seat inside the tap body is likely rough or pitted. A damaged brass seat lets water bypass a brand new rubber disc. Smooth the metal seat with a dressing tool or install a new seat.
Can I fix a leaking faucet without turning off the main house water valve?
Yes, if the small shutoff valves under your sink close completely. Test them by opening the tap after turning them off to verify flow stops. If they leak or stick, shut off the main home water valve.
How tight should I tighten the faucet cartridge retaining nut?
Turn the nut until it feels snug against the cartridge body using moderate pressure. Never use extreme force on this brass collar during final assembly. Crushing the nut cracks inner ceramic discs and pinches your fresh rubber seals.