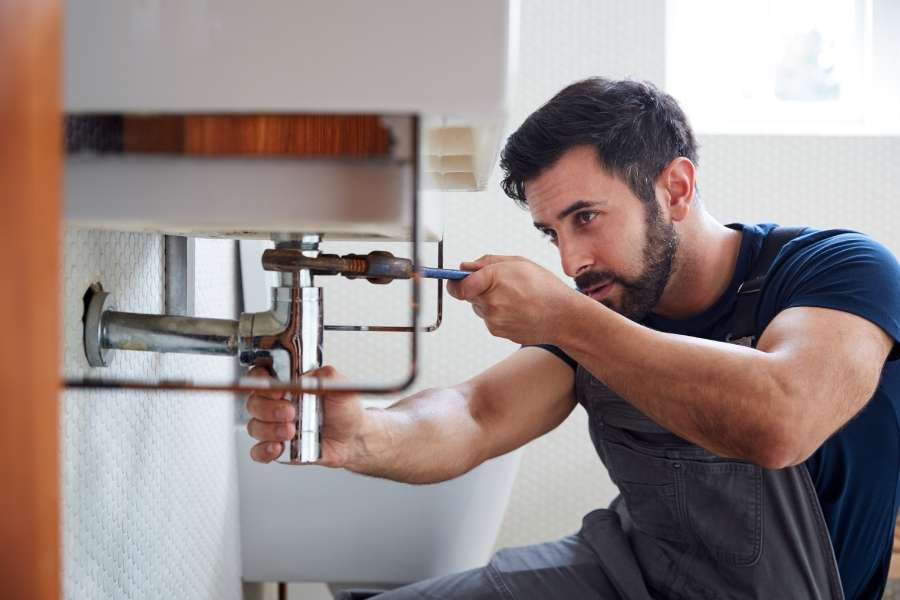
That persistent dripping sound can ruin your sleep and waste water. You do not need to spend money on professional plumbers for basic repairs. Fixing this common household problem yourself is quick and simple. Let us help you repair your dripping faucet right now.
Before grabbing your wrench, plan your repair approach carefully. Understanding why leaks happen saves you a lot of time later. Worn parts or damaged rubber seals cause most household issues. Gathering correct supplies ensures a smooth repair process today. Let us learn DIY plumbing methods together right now.
Getting Prepared for Your Tap Repair Project
Proper preparation makes every home repair project very easy. Never open your bathroom fixtures without having all tools ready. Taking time to prep prevents frustrating surprise water spills. Smart homeowners organize their workspace before starting any project. You can explore the best DIY tech projects for home improvement to upgrade your living space effortlessly.
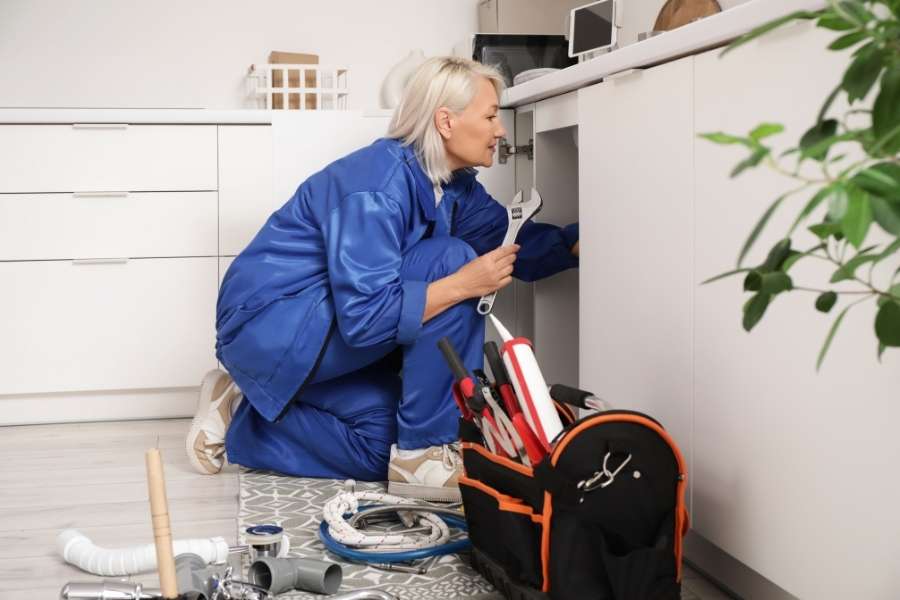
Gather proper plumbing tools before touch anything around your sinks. Get an adjustable wrench, screwdrivers, pliers, and faucet cartridge replacements. A fresh washer replacement set helps stop annoying water drips. Keep rubber grease nearby to lubricate fresh seals easily. Towels protect chrome finishes from accidental scratch marks during work.
- Adjustable Wrench: Holds metal nuts securely while preventing surface damage.
- Screwdrivers: Removes handles and small internal screws very fast.
- Replacement Parts: Keeps new rubber washers ready for immediate installation.
Safety always comes first during household repair projects. Always close under-sink water shut-off valves before starting work. Block drain holes with towels so small screws never fall down.
Mastering Step by Step Bathroom Tap Leak Repair
Following clear instructions makes fixture repair completely stress-free. Beginners can tackle this basic maintenance job without trouble. Careful steps protect household pipes from costly structural damage. Check out these smart solutions for your DIY projects to streamline all your home maintenance tasks.
First, turn off both water valves beneath your sink basin. Open handles fully to drain any leftover water inside lines. Remove decorative handle caps to locate internal holding screws. Unscrew handles gently and lift them off stems carefully. Check exposed internal parts for rust or scale build-up.
Shut off water valves first. Drain leftover water completely next. Remove outer handle covers. Extract worn cartridges or washers. Install fresh replacement parts. Test your repaired fixture carefully.
Replacing the Internal Cartridge or Rubber Washers
Pull out old worn parts once housing opens up completely. Replacing rubber seals completes a washer replacement very fast. Modern sinks require replacing the full faucet cartridge instead. Bring old components to local stores for exact size matches.
Insert new parts straight into place without twisting them. Tighten retaining nuts securely back onto fixture bases. Reattach handles tightly and turn water valves back on. You now know how to stop a leaking faucet without a plumber.
Essential Knowledge for Long-Term Home Maintenance
Fixing taps today prevents major water damage in the future. Mineral deposits ruin internal rubber components over time. Cleaning aerators regularly reduces pressure stress inside tap mechanisms. Routine checks prevent costly home water damage effectively.
Knowing the right tools needed for fixing a leaking tap builds confidence. Learning how to fix a dripping kitchen faucet yourself saves money. Regular care keeps kitchen fixtures working great for years.
Frequently Asked Questions
Why does my faucet keep dripping after replacing the washer?
Corroded metal valve seats cause continuous drips after repairs. Rough surfaces let water leak past fresh rubber seals. Clean valve seats using proper tools or replace assemblies.
How do I know what kind of faucet I have before taking it apart?
Check the logo on your spout or handle base. Modern single handles use cartridges while older units use compression valves. Check manufacturer model numbers online to buy accurate parts.
Should I use Teflon tape on faucet repair parts?
Never place Teflon tape on internal rubber washers or cartridges. Tape prevents seals from seating correctly, creating worse leaks. Use plumbers grease on rubber components to get tight seals.
Taking charge of household fixes saves money fast. You can fix a leaking faucet without calling experts. Tackle that leak today and enjoy peace and quiet.