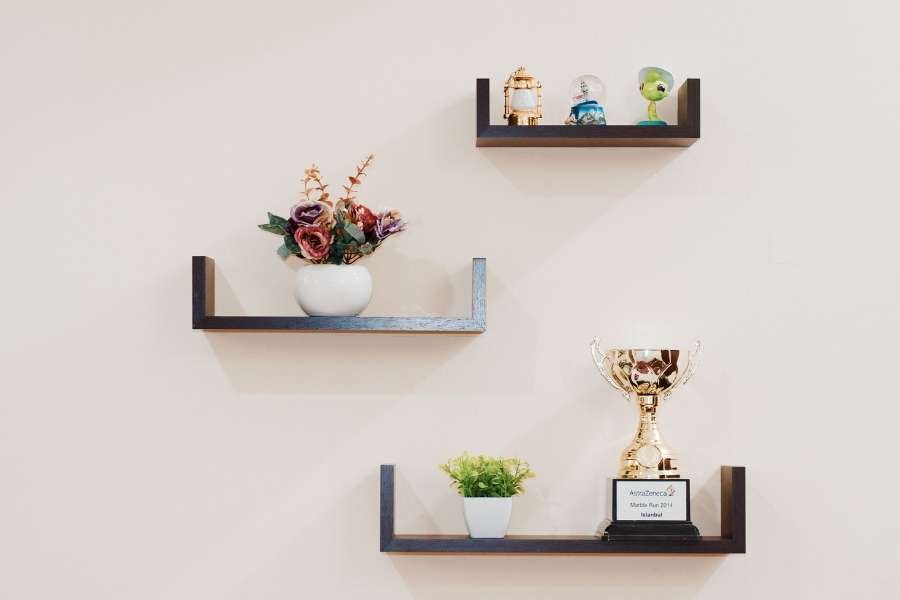
Ever walk into a room and notice shelves that seem to float on thin air? They hold stacks of heavy books with no metal brackets in sight. It looks like pure design magic.
You can buy cheap kits online, but they sag quickly. Learning how to build a custom floating wall shelf changes everything. You get real timber, perfect wall alignment, and massive strength. Best of all, you can build a stunning custom floating wall shelf over a single weekend.
Why Handcrafted Shelves Beat Store Bought Options
Walk into any flat pack home store and look closely at the display shelves. Most of them contain cardboard honeycombs wrapped in thin printed plastic foil. They look neat under store lights, but they warp after a few humid months. A bespoke custom floating wall shelf gives you real wood grain and honest strength. Taking care of your home often involves quick upgrades, much like learning to fix a leaking faucet with a simple DIY repair to keep every room in top condition. Building from scratch ensures you never settle for cheap materials that fail when wet or loaded.
Choosing to craft your own fixtures lets you tackle an easy weekend woodworking project for beginners with complete confidence. You master your tools and gain real carpentry skills along the way. You also skip the frustration of flimsy retail products that pull loose from your walls. A thick piece of lumber holds substantial weight with ease. It supports heavy ceramic pots, vinyl records, or framed family art without bowing in the middle. Your home gets unique furniture that looks custom made because it truly is.

Essential Workshop Gear and Timber Selection
Great shelves start with smart shopping at a good local lumber merchant. Skip the warped boards piled inside big generic retail chain stores. Ask the staff for a straight, kiln dried raw wood board with honest character. Look down the edges to spot any twist, cup, or bow before you pay. Modern home upgrades often combine classic woodwork with clever automated features, similar to exploring the best DIY tech projects for practical home improvement across living spaces. Combining great raw materials with smart planning delivers lasting satisfaction in any workshop endeavor.
Next, focus on hardware because the timber needs rigid internal support to float. Never rely on bent sheet metal plates from budget online packs. Invest in welded, solid steel floating shelf brackets that feature stout rods and thick backplates. Stout brackets keep your wood rigid and perfectly level under working loads. They stay locked against the wall year after year without sagging forward.
Here are the essential workshop tools you need to build this shelf:
- Cordless power drill and matching driver bits
- Deep auger bit matching the steel rod diameter
- Precision drill alignment tool for straight boring
- Electronic wall stud finder and carpenter pencil
- Digital level and durable steel measuring tape
- Sharp hand chisels and a wooden mallet
- Random orbital sander with various grit discs
- High strength wall mounting anchors for plasterboard hollows
Prepping Your Timber for Hidden Hardware
Take your rough timber board into the workshop and inspect every square inch. Check the back edge that will sit directly against your wall drywall. If that back edge is crooked, the shelf leaves ugly gaps against the plaster. Run the board through a table saw or use a guided circular saw. Clean, square cuts make all future measuring and mounting steps simple and fast. Spend extra time getting these joints right before touching your sandpaper.
Now it is time to smooth the wood and bring out its beauty. Good wood prep demands a steady, sequential wood sanding technique using clean abrasive discs. Start with eighty grit to flatten uneven rough spots and mill marks. Switch to one hundred twenty grit to clear away the earlier scratches. Finish with two hundred twenty grit for a velvety smooth surface that welcomes finish.
- Always sand in direct line with the natural wood grain.
- Never stop moving your orbital sander in one spot.
- Vacuum up sanding dust between grit changes to avoid rogue scratches.
- Wipe the bare wood with mineral spirits to preview the grain.
Boring Deep Channels for Concealed Support
Now comes the critical part of building your custom floating wall shelf. You must drill long, deep holes into the back edge of the wood. The steel bracket rods slide directly into these bored holes to support the board. These holes must stay perpendicular across both horizontal and vertical planes. If your drill leans even slightly, the shelf will bind and refuse to mount.
A dedicated drill alignment tool keeps your long auger bit perfectly straight during boring. Mark the exact hole centers along the edge to match your steel bracket spacing. Clamp your guide firmly to the board before starting the drill. Bore each hole one sixteenth of an inch wider than the steel rod. This small extra clearance helps the wood slide onto the metal without binding.
Clear the wood chips frequently as your drill bit cuts through the timber. Pull the spinning bit back every few inches to let shavings drop out. If chips pack tight inside the borehole, they overheat the bit and scorch wood. Deep, clean channels keep the hidden steel rods centered and secure. That hidden steel framework creates a rigid concealed support system inside the board.
Step by Step Instructions for Wall Mounting Shelves
Mounting a heavy floating shelf demands careful attention to wall framing and physics. Drywall alone cannot support the downward pull of a cantilevered timber shelf.
Follow these step by step instructions for wall mounting shelves for a permanent installation:
- Scan your chosen wall space using a reliable electronic stud finder.
- Mark the exact center points of two or three wall studs.
- Hold the steel bracket flat on the wall against those pencil marks.
- Set a digital torpedo level across the top edge of the steel.
- Mark the mounting holes that line up over the stud centers.
- Drill deep pilot holes straight into the wooden wall studs.
- Fasten the steel backplate tightly to the wall with structural screws.
- Set toggle bolts into plasterboard holes that land away from studs.
- Slide the shelf blank onto the steel rods to test the fit.
- Remove the shelf to apply the protective finish on your workbench.
Take your time when setting the bracket against the wall. A bracket that tilts slightly off level ruins your entire installation. Drive each structural screw home until the backplate clamps flat against the wallboard. A rigid backplate gives your custom floating wall shelf rock solid stability. Once the bracket passes the dry fit test, you are ready for finishing.
Applying Protective Coats for Daily Living
Unprotected timber picks up coffee rings, water spots, and oil from fingertips. A good finish seals the open wood grain and highlights deep natural tones. Before applying finish, remove all microscopic dust from the wood surfaces. Use an air compressor nozzle or wipe the board with a tack cloth. Clean surfaces ensure a crystal clear protective coat without tiny trapped dirt specks.
Wipe or brush two thin coats of clear wood varnish across every surface. Let each coat dry fully in a clean, dust free workspace. Sand lightly between coats using an ultra fine four hundred grit sanding sponge. This quick scuff removes tiny dust nips and smooths out brush lines. The cured finish gives your shelf a rich glow that resists daily spills.
- Apply thin coats rather than one heavy, dripping layer.
- Work in a warm room with adequate air ventilation.
- Let the topcoat cure for twenty four hours before handling.
- Buff the cured varnish with brown craft paper for a silky feel.
Sturdy Wooden Floating Shelves for Living Room Displays
Now comes the fun part: sliding your finished shelf onto the wall. Line up the rear holes with the steel rods sticking out of the wall. Push the shelf inward with smooth, even pressure using both hands. If the fit feels tight, protect the front edge with a scrap wood block. Tap the block gently with a rubber mallet to seat the shelf against the wall.
Building sturdy wooden floating shelves for living room decor requires smart styling habits. How you arrange decorative objects affects how the bracket carries the physical load over time. Think about mechanical leverage whenever you place heavy items on your shelf display.
- Place heavy book stacks directly over internal wall studs.
- Keep tall ceramic vases close to the rear back wall.
- Set lighter picture frames and candles near the front edge.
- Leave breathing room between items so the natural wood grain shows through.
Following these simple styling rules keeps your shelf level and stable for decades. Your custom floating wall shelf becomes an eye catching centerpiece for the entire room.
Anchoring with Heavy Duty Fixings for Maximum Peace of Mind
Cantilevered physics can surprise you when weight sits far from the wall. A ten inch deep shelf holding books pulls outward against the wall anchors. The top screws resist this outward pull while the bottom edge pushes inward against the drywall. Standard drywall screws are brittle and can snap under sudden shearing forces.
Always secure your steel backplate with heavy, structural grade heavy duty fixings. Use structural timber screws with wide washer heads when securing into wooden studs. These screws clamp the steel backplate hard against the plaster without stripping out. If mounting into solid brick or concrete walls, switch to heavy expansion anchors. Solid fasteners ensure that your shelf never pulls free under heavy loads.
Frequently Asked Questions
How much weight can a custom floating wall shelf hold safely?
A solid timber shelf mounted to two wall studs easily holds forty to fifty pounds. When secured across three wall studs, the capacity reaches over one hundred pounds safely.
Can I hang a heavy floating shelf without hitting wall studs?
It is not recommended for heavy solid wood shelves carrying real household items. Drywall alone will crumble over time under the downward leverage of a deep shelf.
What is the minimum thickness for a floating timber shelf?
Your wood board should be at least one and a half to two inches thick. This thickness hides the bracket plate and lets you drill wide holes without splitting.